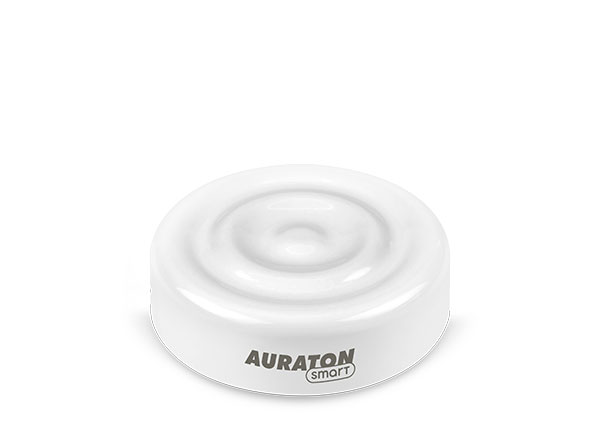
Flood Sensor
User manual ver. 1.1
The document presents collected information on safety, assembly and use of Auraton Flood Sensor.
Basic information
Auraton Flood Sensor is designed to detect flooding in a controlled room/area. The device is intended for cooperation with Auraton Flood Sensor Valve (shut-off valve). One Flood Sensor Valve (FSV) may operate with up to 10 sensors.
ATTENTION:
The system will minimize the damage resulting from the flooding only when*:
- Flood Sensor Valve is correctly installed in the water system by the installer,
- Flood Sensor Valve (FSV) valve is correctly paired with at least one Flood Sensor (FS),
- radio communication between FS and FSV is carried out correctly and reliably, which was previously tested (devices should not operate close to their working range limits),
- Flood Sensor is installed close to the point of water supply, e.g. washing machine, dishwasher, kitchen sink and has a factual possibility of leak detection,
- FSV is permanently powered from included AC adapter or the battery pack, which is recharged regularly, to maintain continuity of its operation,
- the valve minimizes the risk in the system connected to it and cannot prevent the damage caused by water outside the system to which it is connected, e.g. damage resulting from leaking roofs, windows or operation of external premises/systems (flooding by the neighbouring apartment).
*The manufacturer shall not be responsible for loss or damage resulting from flooding and other unforeseen events.
Description of the device
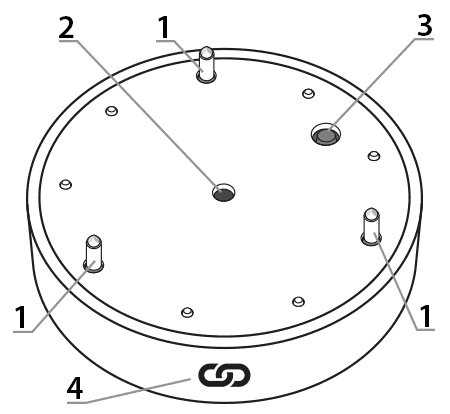
1 – Flood sensor
2 – Operation status signal lamp
3 – Function button
4 – The magnet used to enable the pairing function of Flood Sensor Valve (@)
Installation
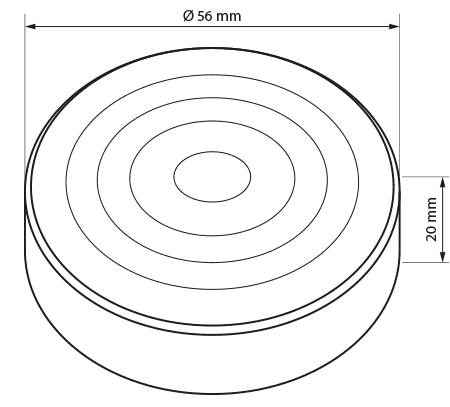
Flood Sensor flooding be put on the floor as close to the water system (washing machine, dishwasher, etc.), to be able to send the signal to the valve in case of detecting water/moisture. The distance between Flood Sensor and Flood Sensor Valve must not be less than 1.5 m, to avoid problems during radio communication. In case of no coverage in radio communication, try to turn the valve on a pipe by 90° in order to improve the position of the antennas in the Valve and Sensor or decrease the distance between the devices.
Pairing the devices
To activate pairing function on Flood Sensor, press and hold the button. After a while, a short sound signal (BEEP) will be activated Hold the button and wait until you hear a longer beep, then release the button. Activated pairing mode is indicated by blinking red LED.
Long beeps indicate positive execution of the function, whereas short beeps indicate an error in executing the function.
After executing the relevant function, the sensor returns to its previous state.
Activation of pairing – Auraton Flood Sensor Valve
In order to activate pairing in Auraton Flood Sensor Valve, contact Flood Sensor and Flood Sensor Valve as close as possible to the pairing symbol (@). After a while, the valve will emit a short beep (sound signal), keep the sensor in contact with valve until you hear another, longer beep, then move away the two devices from each other.
Activation of the pairing function – Auraton Pulse Central Unit
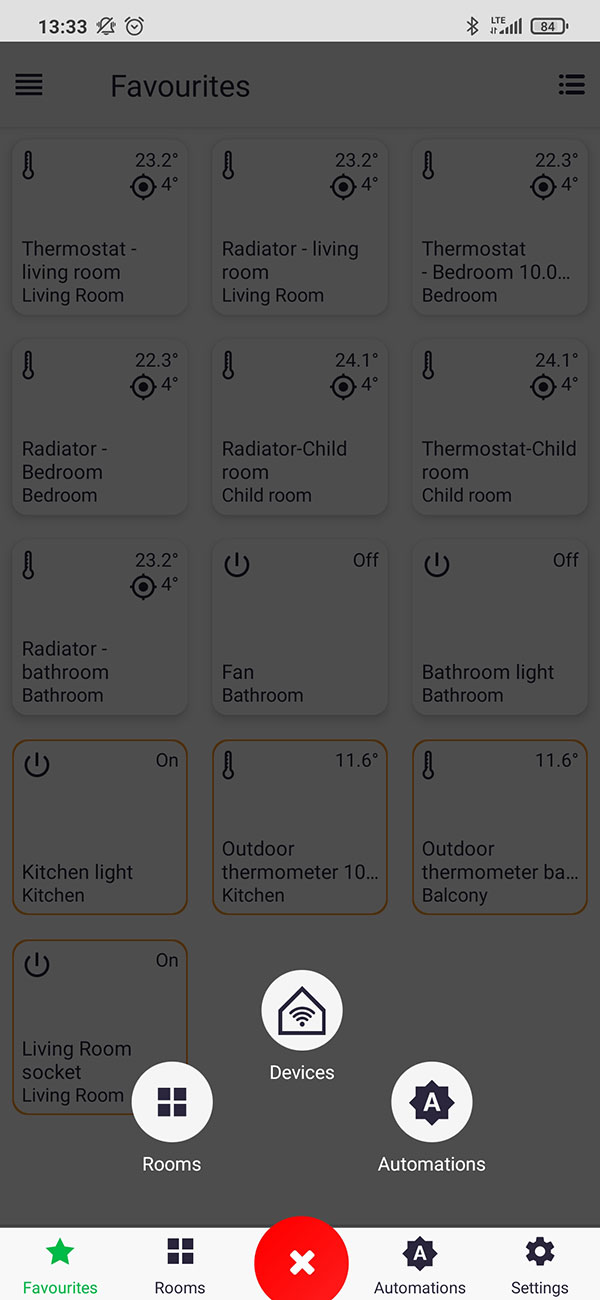
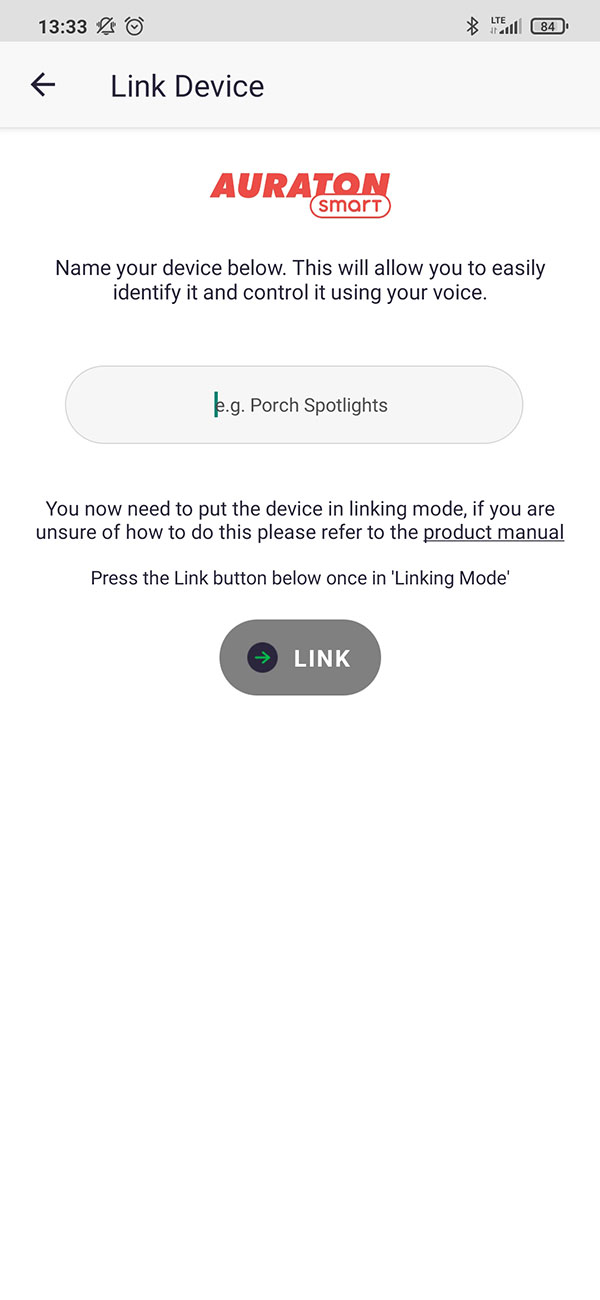
In Auraton Pulse, the pairing function is activated via Auraton Smart App. After it is enabled, press green ‘+’ button located on the centre of the screen. On the next screen, press the home icon marked as “Devices”. On the next screen, enter the name of the device that is added. After entering the name, press the “Add” button. After successful pairing, the device may be placed in any previously added room and added to ‘favourites’.
Restoring factory settings
To restore the factory settings of the Flood Sensor, press and hold the button. After a while, a short sound signal (BEEP) will be activated Hold the button and wait until you hear two longer beeps, then release the button. At this point, the device should sound a continuous beep. When you hear it shortly press the button to confirm that you want to delete all user data from Auraton Flood Sensor.
Long beeps indicate positive execution of the function, whereas short beeps indicate an error in executing the function.
After executing the relevant function, the sensor returns to its previous state.
Functions of the device
Signalling room flooding
Flood Sensor detects flooding after 10 seconds of continuous short-circuit between its “contact feet” (see “Description of the device”), which are located near the button. It signals the flooding by short beeps (acoustic signals). Detection of flooding is divided into several stages:
- first 10 minutes (0:10 from flooding) – 3-second beeps emitted every 20-40 seconds. At the same time intervals, the radio signals are emitted informing about the flooding, until one of them is received by the second device. Typically, this is the first message, but there is an additional safeguard to be used in case of communication problems.
- after next 30 minutes (0:40 from flooding) – beep lasting for 30 seconds. Extending the interval for a further 30 minutes.
- after the next 60 minutes (1:40 from flooding) – beep lasting for 30 seconds. Extending the interval for a further 30 minutes. Alarm signal is extended until reaching the time of 24 hours.
Restoring previous firmware
In order to change the firmware of the Flood Sensor, press and hold the button. After a while, a short sound signal (BEEP) will be activated Hold the button and wait until you hear three longer beeps, then release the button. At this point, the device should sound a continuous beep. When you hear it shortly press the button to confirm that you want to activate the device again. Immediately after this short pressing, press the button again and hold it pressed until red LED stops blinking (3 flashes). Then, the device will restart and will be restored to the previous version of the firmware (in case of improper operation after the upgrade). The whole operation can take up to one minute. Always the previous version of the firmware is loaded. When the firmware has been changed earlier from version 1.6 to 1.5, then the previous version is 1.6.
Transport mode
Transport mode disables all functions of the device and Flood Sensor consumes a lower current than during normal operation. The device can then easily be stored or transported without affecting the battery life. To enable the transport mode of Flood Sensor, press and hold the button. After a while, a short sound signal (BEEP) will be activated Hold the button and wait until you hear four longer beeps, then release the button. At this point, the device should sound a continuous beep. When you hear it shortly press the button to confirm your choice. To exit the transport mode is, press the button longer.
Long beeps indicate positive execution of the function, whereas short beeps indicate an error in executing the function.
After executing the relevant function, the sensor returns to its previous state.
Device operational modes
Auraton Flood Sensor Valve with Auraton Flood Sensor may operate in two modes.
Mode I (local):
In this mode, the valve and the sensor may work independently without the need to use Auraton Pulse central unit. Just properly pair the sensor with the valve. You can add from up to 10 sensors to one valve. If flooding is detected by one of the sensors, the valve will be closed automatically. Valve opening is not automatic and must be performed manually using the knob available at the top of the valve housing.
Mode II (remote):
In the remote mode, you can use Auraton Pulse web central unit, which provides the access to the entire system remotely from locations outside the home.
This allows you to remotely open or close the valve, check the battery levels of both the valve and the sensor, receive notifications about flooding, create schedules and more. Particularly important is the ability to relate the valve closing action with specific flood sensors, in order to carry out the automatic closing of the valve by Auraton Pulse when flooding is detected. Then you can also receive remote notification about flooding.
For proper remote control, you need access to the Internet both for the central panel and for the phone or tablet with the app (Android, iOS).
When you use Mode II (remote), it is recommended to pair it earlier with the same valve . Pairing the valve and the sensor will result in proper operation of the set, even in case of power failure at Auraton Pulse (e.g. power supply turned off).
Operation with Auraton Pulse central unit
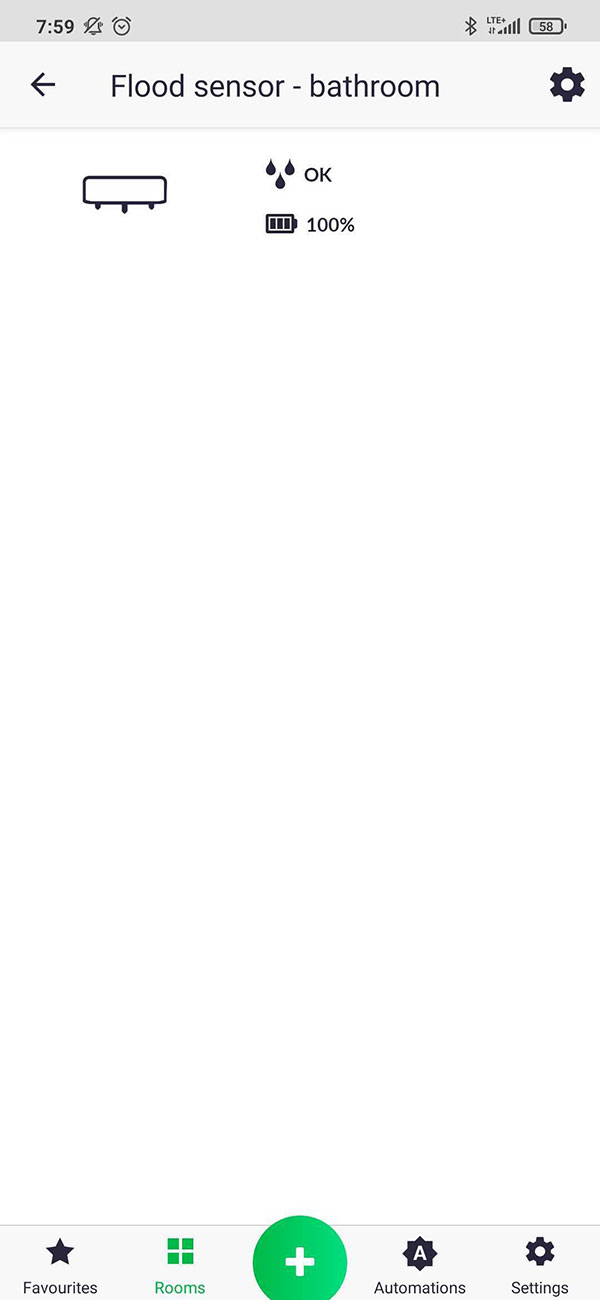
Flood Sensor is paired with Auraton Pulse central unit and with other devices (as defined in the paragraph on pairing devices) and the only difference is that the pairing mode on the central unit is activated through the app by pressing green ‘+’ button at the bottom of the screen, which is followed by clicking the icon marked as “Devices”. Details are described in the manual application. The picture below shows the screen of the device in the app, where you can see battery charging status. Sensor status indicating potential flooding, check whether everything is “OK” on its icon in the window of devices, e.g. in “Favourites” tab or in the tab of a specific room.
The device economically use the energy from the battery, therefore radio communication is carried out only in case of flooding and every 6 hours. Only in these cases, Flood Sensor can receive a command from Auraton Pulse, e.g. for firmware update. Flood Sensor is designed to work with Flood Sensor Valve and these devices may be paired in the application by using ‘If-Execute’ function, e.g. ‘If the flooding occured, set FloodValveLevel at 0% (i.e. close the valve).
Technical specifications
| Model: | Auraton Flood Sensor |
| Operating temperature range: | -20°C – 45°C |
| IP rating: | IP67 |
| Humidity: | ≤85% non-condensing |
| Checking the operational status: | LED, sound signalling |
| Power supply: | CR2450 3V non-removable |
| Compatible with Internet getaway: | Pulse Auraton |
| Radio frequency: | 865.500 MHz 867.200 MHz 868.150 MHz 868.450 MHz 869.800 MHz |
| Radio signal strength: | 11 dBm |
| Category of the radio receiver: | 2 |
| Operating range: | in a typical house, with standard wall structures – up to 50 m outdoors – up to 150 m |
Disposal of the device
O
The devices are marked with the crossed-out wheeled bin. According to European Directive 2012/19/EU and the Waste Electrical and Electronic Equipment Act, this kind of marking indicates that the equipment, after its operational life must not be disposed of together with other waste from households.
The user shall return it to a collection point for electrical and electronic waste.